

JUnit 5 has become the go-to framework for unit testing in Java, offering developers a flexible and powerful way to ensure their code works as expected. Writing comprehensive tests not only boosts confidence in application behavior but also safeguards against regressions when code changes occur. With JUnit 5, testing is more modular and expressive than ever, enabling developers to focus on both code quality and maintainability.
Getting started with JUnit 5 involves several key steps. First, you need to configure your Maven project to include the JUnit 5 dependencies. Once set up, you can write tests using annotations like @Test for standard test cases and @ParameterizedTest for tests that run with multiple input values. These annotations make it easy to define and organize test methods, streamlining the testing process.
Validating results is straightforward with JUnit 5’s built-in assertions. You can check equality, nullability, boolean conditions, and exceptions, among other things. Lifecycle annotations such as @BeforeEach, @AfterEach, @BeforeAll, and @AfterAll allow you to set up and clean up resources before or after tests run, providing better control over your testing environment. Additionally, JUnit 5 supports tagging tests with @Tag, which lets you selectively execute subsets of tests based on their intended purpose.
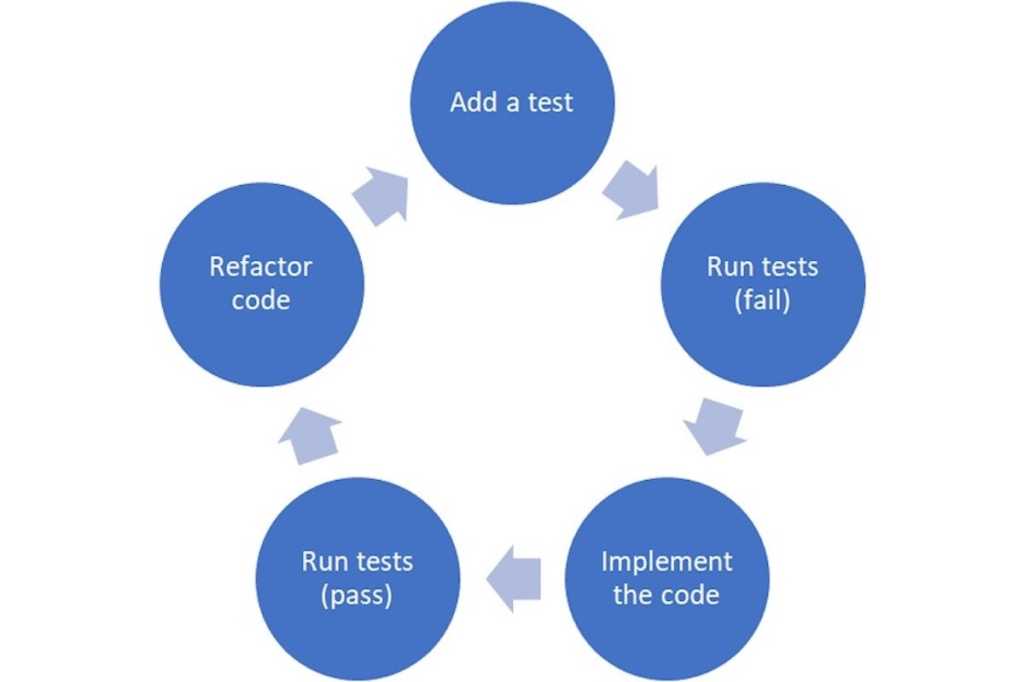
Understanding the context of test-driven development (TDD) further strengthens your testing practices. TDD emphasizes writing tests before implementation, following a repeatable cycle: write a test, watch it fail, implement the code, verify the test passes, and then refactor. This approach encourages better code design, reduces bugs, and ensures that every new feature is backed by a corresponding test. Combined with JUnit 5, TDD provides a structured methodology for building reliable, high-quality Java applications.